Affiliate Disclosure:Kid Sitting Safe is reader-supported. When you buy through links on our site, we may earn an affiliate commission at no additional cost to you. This does not influence our reviews or recommendations — we only recommend products we genuinely believe in.
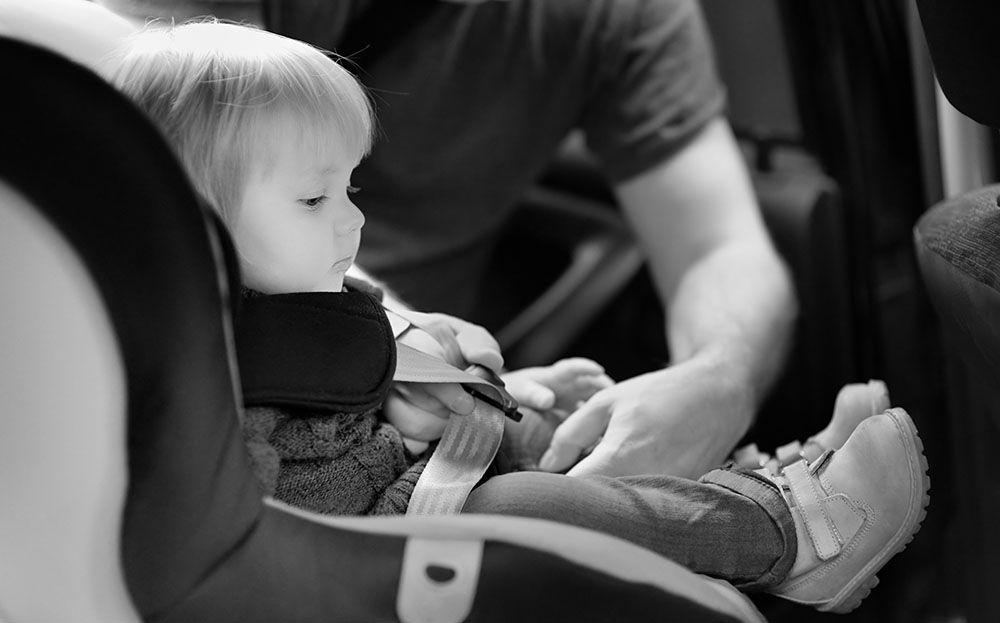
Installing a car seat correctly is one of the most critical car seat safety tasks parents face. According to NHTSA, 46% of car seats are misused due to installation errors, putting children at unnecessary risk. This comprehensive guide walks you through every aspect of car seat installation, from choosing between LATCH and seat belt methods to avoiding the most common mistakes that compromise safety.
Understanding Car Seat Installation Basics
Why Proper Installation Matters
Car seats are engineered to protect children during crashes, but only when installed according to Federal Motor Vehicle Safety Standard 213 (FMVSS 213). A properly installed seat:
- Reduces fatal injury risk by 71% for infants and 54% for toddlers
- Prevents excessive movement during collisions
- Ensures optimal positioning of restraint systems
- Maintains structural integrity under crash forces
When seats are loose or incorrectly positioned, children can suffer preventable injuries ranging from minor bruising to life-threatening head trauma.

Key Safety Standards
FMVSS 213: The federal standard all car seats must meet, specifying performance requirements for child restraint systems.
AAP Guidelines: The American Academy of Pediatrics recommends keeping children rear-facing as long as possible, until they reach the maximum weight or height limits of their rear-facing seat.
NHTSA Ratings: The National Highway Traffic Safety Administration provides ease-of-use ratings to help parents select seats that are more likely to be installed correctly.
Installation Methods: LATCH vs. Seat Belt
The LATCH System
LATCH (Lower Anchors and Tethers for Children) was mandated in vehicles manufactured after September 2002. The system consists of:
- Lower anchors: Metal bars located in the vehicle seat crease
- Tether anchors: Metal rings or bars, typically on the rear shelf, seat back, or floor
- Car seat connectors: Hooks or rigid attachments that connect to anchors
LATCH Installation Steps
- Locate the anchors: Find the lower anchors in your vehicle seat crease (marked with a symbol)
- Extend connectors: Pull the LATCH straps from the car seat storage compartment
- Attach hooks: Connect to the lower anchors, ensuring proper orientation
- Tighten: Compress the seat and pull the tightening strap until secure
- Check tightness: Verify less than 1 inch of movement at the belt path
LATCH Weight Limits
Federal regulations require discontinuing LATCH use when the combined weight of child plus car seat exceeds 65 pounds. Many vehicle manufacturers set lower limits (40-48 pounds for child only). Always check both manuals and use the lower limit.
Seat Belt Installation
Seat belt installation works in any vehicle and has no weight limits. All car seats must be designed to work with vehicle seat belts.
Types of Seat Belt Locking Mechanisms
Switchable Retractors:
- Pull belt all the way out until you hear clicking
- Let it retract while feeding it back slowly
- Belt is now locked and won’t extend further
Switchable Latch Plates:
- Buckle the seat belt normally
- Flip the latch plate to engage locking mechanism
- Pull tight to remove slack
ELR (Emergency Locking Retractor):
- Requires a locking clip (provided with car seat)
- Prevents belt from loosening during normal driving
Seat Belt Installation Steps
- Route the belt: Thread through the correct belt path (check labels)
- Buckle: Secure the seat belt latch
- Lock the belt: Use appropriate locking method for your vehicle
- Compress and tighten: Put weight on seat while removing slack
- Verify tightness: Confirm less than 1 inch of movement
Which Method Should You Use?
Use LATCH when:
- Your child is under the weight limit
- You want the quickest installation
- Your vehicle has easily accessible anchors
- You’re installing in the center seat with dedicated center LATCH
Use seat belt when:
- Your child exceeds LATCH weight limits
- You need to install three seats across
- Your vehicle lacks LATCH in the desired position
- You want the tightest possible installation
LATCH vs Seat Belt: Which Is Safer?
When it comes to protecting your child in a collision, both installation methods undergo identical safety testing. According to NHTSA data, proper installation reduces fatal injury risk by 71% for infants, regardless of whether you use LATCH or the vehicle’s seat belt system. FMVSS 213 requires seats to be tested with both LATCH and seat belt installation, ensuring equivalent crash performance when either method is used correctly.
The primary differences lie in ease of use and compatibility rather than safety outcomes. LATCH was designed to simplify installation and reduce errors, but seat belts often achieve a tighter fit in practice - particularly in older vehicles with well-worn seat belt systems. The AAP recommends professional installation checks by CPSTs to verify that your chosen method achieves optimal tightness.
For vehicles manufactured between 2002 and 2014, seat belt installation may actually outperform LATCH in achieving the critical 1-inch movement rule due to variations in anchor placement. Modern vehicles with rigid LATCH systems (2015+) have largely closed this gap. Ultimately, the safest method is the one that results in the tightest, most secure installation in your specific vehicle. If you can achieve less movement with the seat belt, use the seat belt. If LATCH provides a tighter fit, use LATCH. Never compromise on tightness for convenience.
The 1-Inch Rule: Verifying Tightness
The 1-inch rule is the gold standard for car seat installation verification, yet it remains misunderstood by many parents. According to NHTSA, 46% of car seats are misused due to installation errors, with loose installation being the most common violation. The rule states that a properly installed car seat should not move more than 1 inch (2.5 centimeters) side-to-side or front-to-back when tested at the belt path.

To test correctly, grasp the car seat firmly at the point where the LATCH strap or seat belt passes through the belt path - typically near where the child’s thighs would rest. Apply firm pressure attempting to slide the seat toward the window and then toward the vehicle center. Repeat the test by pulling the seat toward the front of the vehicle and then toward the rear. If any movement exceeds 1 inch in any direction, the installation requires tightening.
Achieving this standard requires proper technique. For LATCH installations, place your knee in the seat pan while pulling upward on the tightening strap - this uses your body weight to compress the vehicle seat cushion while removing slack from the attachment system. For seat belt installations, push down on the car seat while simultaneously pulling the shoulder belt portion to eliminate slack. Test the tightness immediately after installation and recheck weekly, as vehicle seat compression and temperature changes can affect tightness over time.
Recline Angle Requirements by Age
Proper recline angle is critical for airway protection in rear-facing seats, particularly for newborns and young infants who lack full head control. The AAP recommends professional installation checks by CPSTs to ensure angle accuracy, as improper positioning can compromise breathing or crash protection.
For infants from birth to approximately 3 months, the car seat must maintain a recline angle between 30 and 45 degrees relative to the ground. At this angle, the child’s head remains supported and the airway stays open - too upright and the chin may compress against the chest, restricting airflow; too reclined and the child may be thrown upward in a collision, risking head and neck injuries. Most infant car seats feature built-in angle indicators, either as bubble levels or printed lines that should be parallel to the ground when viewed from the side.
As children develop stronger neck muscles - typically around 4 to 6 months of age - seats may accommodate slightly more upright positioning, with some convertible seats allowing angles as steep as 25 degrees for older rear-facing toddlers. However, manufacturers’ specifications always take precedence. If the seat does not naturally achieve the correct angle in your vehicle, angle adjusters or rolled towels may be used, but only if explicitly permitted by the car seat manufacturer. FMVSS 213 requires seats to be tested with both LATCH and seat belt installation at specified angles, ensuring safety across the approved range.
Top Tether Usage and Requirements
The top tether is a critical but often overlooked component of forward-facing car seat installation. This strap, which extends from the top of the car seat and anchors to a designated tether point in the vehicle, significantly reduces forward head movement during frontal collisions. According to NHTSA, proper tether use is essential for maximum protection.
FMVSS 213 requires seats to be tested with both LATCH and seat belt installation configurations, including the mandatory use of top tethers for forward-facing installations. When properly attached and tightened, the tether strap limits the car seat’s forward rotation by 4 to 6 inches, preventing the child’s head from striking the front seatback or other interior surfaces. Without the tether, the seat may pitch forward excessively, subjecting the child to dangerous head excursion forces.
Vehicle tether anchor locations vary by make and model - common placements include the rear deck shelf behind the back seat, the floor behind the seat, or the seat back itself. The anchor is typically marked with a symbol showing a child seat with a tether strap. When installing, route the tether strap over the top of the vehicle seat (never under the headrest unless the vehicle manual specifically permits this), attach the hook to the anchor point, and tighten until the strap is taut. The strap should not have visible slack but should not be so tight that it deforms the car seat shell. Check the tether monthly for loosening, as vehicle vibration can gradually relax tension.
Common Vehicle Compatibility Issues
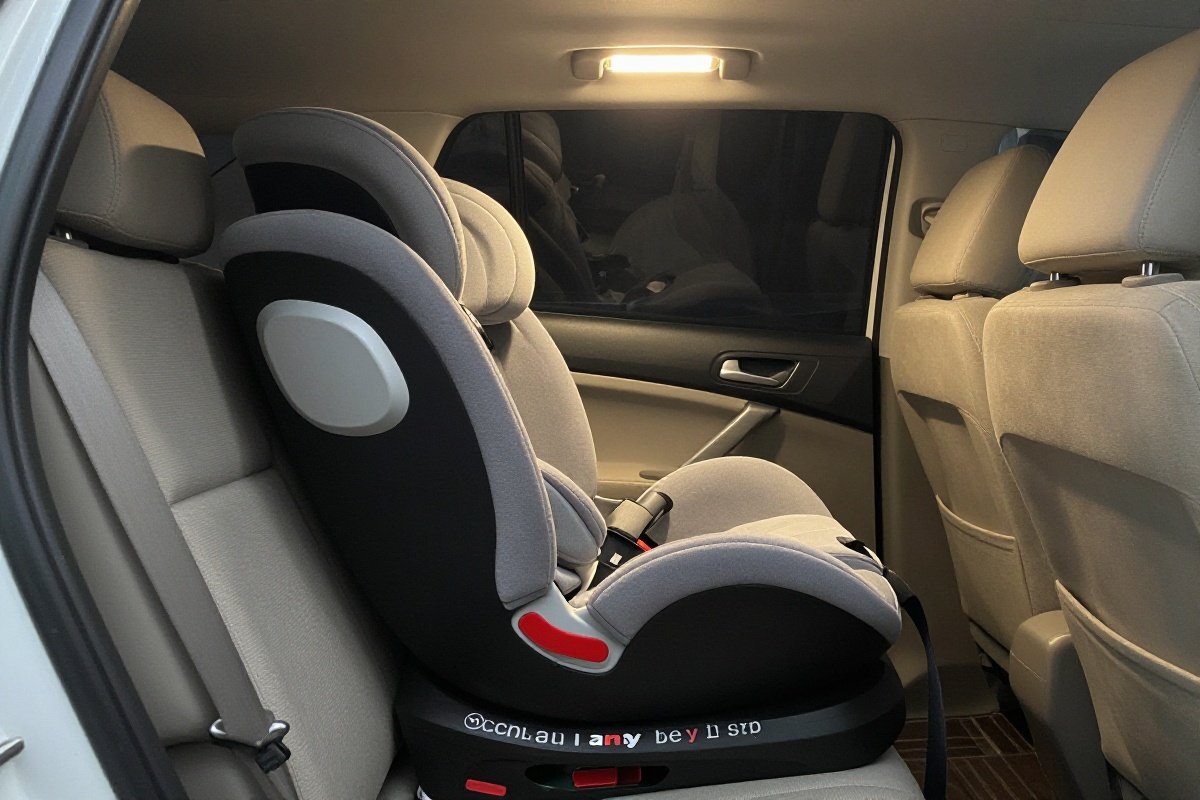
Not all car seats fit all vehicles, and understanding compatibility challenges can prevent dangerous installation compromises. According to NHTSA, the safest position for children is the center rear seat, yet many vehicles lack LATCH anchors in this position, forcing parents to choose between convenience and optimal safety positioning.
Seat Contour Mismatches: Deeply contoured or sculpted vehicle seats can create gaps between the car seat base and vehicle cushion, reducing stability. Bucket seats with pronounced side bolsters may prevent proper leveling of infant seat bases. In these cases, seat belt installation often conforms better to the vehicle seat shape than rigid LATCH connectors.
Belt Path Obstructions: Some vehicles feature protruding plastic trim, center console extensions, or seat belt buckles that interfere with proper belt routing. The belt path must remain completely clear of obstructions to allow the car seat to sit flush against the vehicle seat back.
LATCH Anchor Spacing: While federal standards specify anchor spacing, some vehicles position anchors in ways that create awkward angles for certain car seat connectors. Rigid LATCH systems may not align with anchors that sit too far forward or backward relative to the vehicle seat crease.
Top Tether Accessibility: Sedans with small rear windows may have tether anchors positioned far from optimal routing paths, creating excessive strap angles that reduce effectiveness. Minivans and SUVs typically offer superior tether accessibility.
When compatibility issues arise, consulting a CPST can provide vehicle-specific solutions, including alternative installation methods or car seat models better suited to your vehicle’s geometry.
When Professional Installation Is Essential
While many parents successfully install car seats independently, certain situations warrant professional verification. The AAP recommends professional installation checks by CPSTs for all caregivers, but some circumstances make expert assistance particularly valuable.
Newborn First-Time Installation: Before bringing your first child home from the hospital, a CPST inspection ensures the seat is correctly positioned, the harness fits properly, and you understand all safety features. Hospital staff typically verify you have a seat but do not assess installation quality.
Premature or Special Needs Infants: Babies born before 37 weeks or those with medical conditions affecting breathing or muscle tone require precise recline angles that may differ from standard recommendations. CPSTs with specialized training can adapt installation for medical needs.
Three-Across Configurations: Installing three car seats in one row involves complex spacing calculations, seat compatibility matching, and often requires mixing installation methods. Professional guidance prevents the common error of assuming seats fit when they actually interfere with each other’s stability.
Vehicle Changes: Moving a seat between vehicles with different seat belt or LATCH configurations introduces opportunities for error. A CPST can demonstrate proper technique for each vehicle you regularly use.
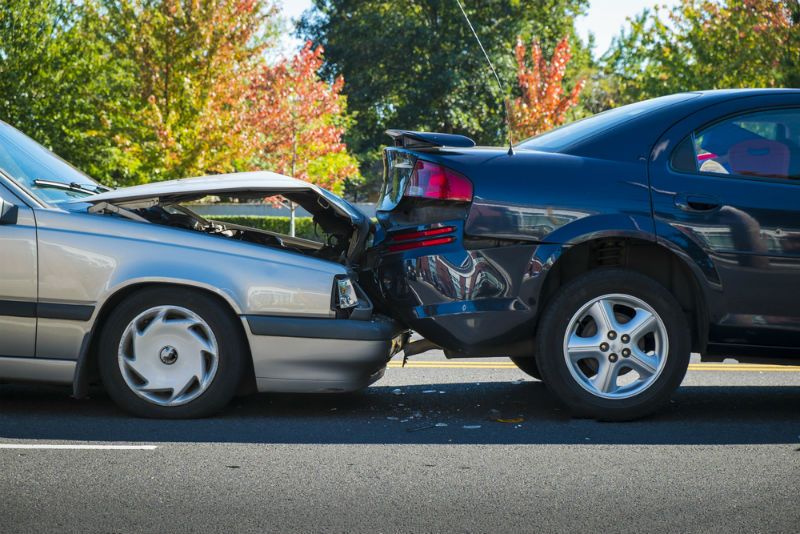
Post-Accident Reinstallation: After any collision, even minor ones, seats should be inspected and potentially replaced. CPSTs can assess whether the seat sustained hidden damage and ensure reinstallation meets safety standards.
Most inspections are free through Safe Kids coalitions, fire departments, or health departments, requiring only 30 minutes to verify your child’s safety.
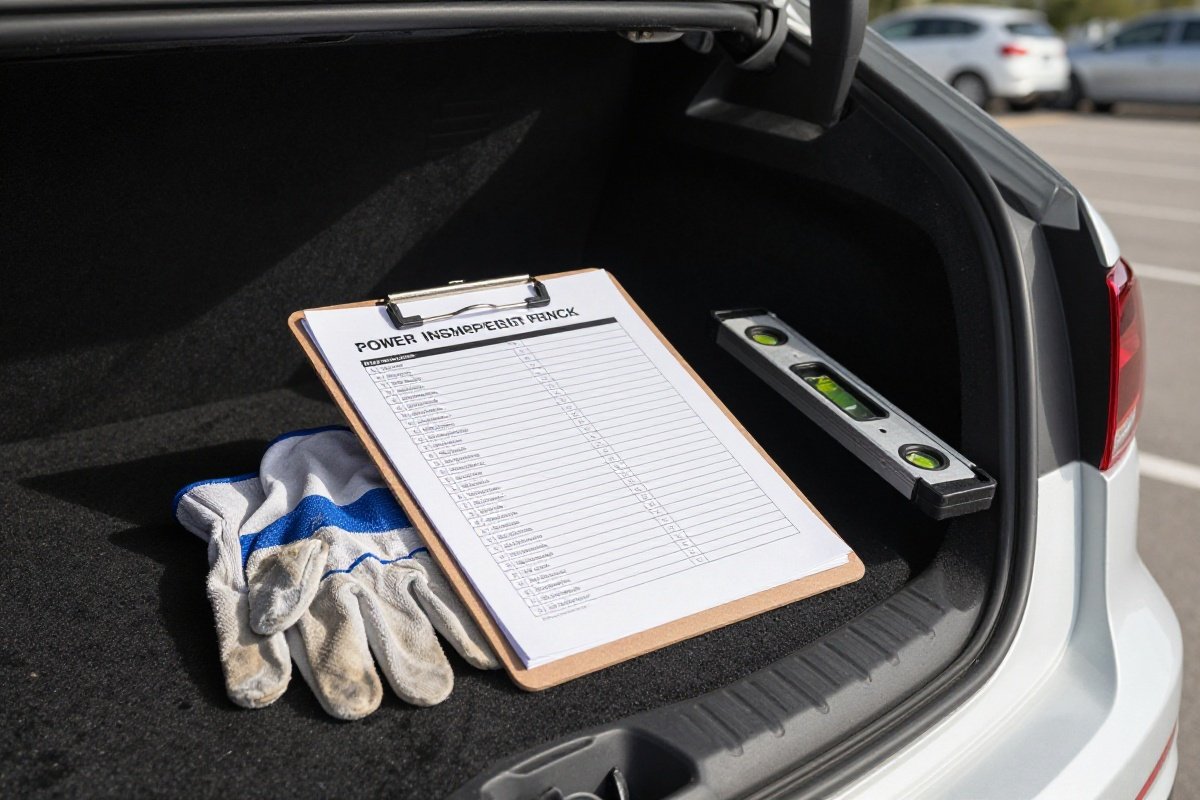
Installation Verification Checklist
Before every drive, verify your installation meets these critical safety standards. According to NHTSA, systematic checking prevents the gradual loosening and errors that compromise protection.
Pre-Drive Safety Check:
- The car seat does not move more than 1 inch side-to-side or front-to-back at the belt path
- The seat belt or LATCH strap lies flat without twists or knots
- For rear-facing seats, the recline angle indicator shows the correct position
- For forward-facing seats, the top tether is attached and taut
- The car seat sits flush against the vehicle seat back with no gaps
- The harness straps emerge from slots at or below shoulder level (rear-facing) or at or above (forward-facing)
- The chest clip is positioned at armpit level
- The harness passes the pinch test - you cannot pinch excess webbing at the shoulders
Weekly Verification:
- Recheck tightness using the 1-inch rule
- Inspect straps for fraying, twisting, or contamination
- Verify the seat has not shifted from its original position
- Check that buckles and adjusters function smoothly
Monthly Deep Inspection:
- Review expiration date on seat label - most seats expire 6-10 years from manufacture
- Verify your child’s weight and height remain within seat limits
- Check for recalls on the NHTSA website using your seat’s model number
- Clean the seat according to manufacturer instructions - improper cleaning can degrade materials
Following this checklist takes less than two minutes but provides confidence that your child travels with maximum protection every time you drive.
Common Installation Mistakes to Avoid
Mistake #1: Loose Installation
The Problem: Seat moves more than 1 inch at the belt path.
The Fix: Use your full body weight to compress the seat while tightening. For LATCH, put your knee in the seat and pull up. For seat belts, push down while pulling the shoulder belt.
Mistake #2: Incorrect Recline Angle
The Problem: Newborns need 30-45 degree recline to maintain open airways. Too upright risks breathing difficulties; too reclined risks injury in a crash.
The Fix: Use built-in angle indicators (bubble levels or lines) on the car seat. Adjust base or seat angle until the indicator shows the correct position for your child’s age.
Mistake #3: Wrong Belt Path
The Problem: Using the rear-facing belt path for forward-facing installation, or vice versa.
The Fix: Check the labels on the car seat shell. Rear-facing paths are typically under the child’s legs; forward-facing paths are behind the back. When in doubt, consult the manual.
Mistake #4: Missing Tether Strap
The Problem: Forward-facing seats without the top tether attached.
The Fix: Always attach the tether strap to the vehicle’s tether anchor and tighten. This limits forward head movement by 4-6 inches in a crash.
Mistake #5: Twisted Straps
The Problem: Installation straps or harness straps are twisted.
The Fix: Untwist all straps before use. Twisted straps reduce width and can cut into the body during a crash.
Special Installation Scenarios
Center Seat Installation
The center rear seat is statistically the safest position, but presents challenges:
- Many vehicles lack center LATCH anchors
- Seat belt installation often works better
- Some seats are too wide for center installation
Best Practice: If center LATCH isn’t available, use the seat belt with the locking method appropriate for your vehicle.
Three-Across Installation
Installing three car seats in one row requires:
- Narrow seats (17 inches or less width)
- Mix of seat types (infant, convertible, booster)
- Patience and careful adjustment
Recommended narrow seats:
- Diono Radian (17 inches)
- Graco SlimFit (16.7 inches)
- Clek Fllo (16.9 inches)
Small Vehicle Installation
Compact cars require creative solutions - see our guide to the best car seats for small cars for specific recommendations:
- Measure your vehicle’s rear seat width and depth
- Choose seats with compact footprints
- Adjust front seats forward to accommodate rear-facing depth
- Consider angle adjusters for rear-facing seats
Professional Installation Help
Finding a CPST
Certified Child Passenger Safety Technicians complete 32-hour training programs. Find one through:
- Safe Kids Worldwide (cert.safekids.org)
- NHTSA inspection station locator
- Local fire and police departments
- Children’s hospitals
What to Expect
A typical inspection includes:
- Verification of seat appropriateness for child’s size
- Demonstration of proper installation
- Harness fitting and adjustment
- Education on proper use
- Answers to your specific questions
Most inspections are free and take 20-30 minutes per seat.
Maintaining Your Installation
Regular Checks
Weekly: Verify the seat hasn’t loosened (less than 1 inch movement) Monthly: Check for twisted straps and proper harness fit After cleaning: Reinstall following the same procedure
When to Reinstall
- After removing the seat for cleaning
- When switching between vehicles
- After any vehicle accident
- When your child moves to the next size/weight bracket
- If you notice excessive movement
Further Reading
- Car Seat Laws by State: Complete Guide for Parents 2026
- Car Seat After Accident: When to Replace & Insurance Coverage
- Benefits of a Load Leg Car Seat: Enhanced Safety Explained
Troubleshooting Difficult Installations
Problem: Can’t Achieve Tight Installation
Solutions:
- Try the other installation method (LATCH vs. seat belt)
- Use a pool noodle or rolled towel for angle adjustment (only if car seat manual permits)
- Consider a different car seat that fits your vehicle better
- Consult a CPST for vehicle-specific tips
Problem: Seat Belt Won’t Lock
Solutions:
- Check if your vehicle has switchable retractors (pull all the way out)
- Use the locking clip provided with your car seat
- Try LATCH installation instead
- Consult your vehicle manual for seat belt specifications
Problem: Can’t Access LATCH Anchors
Solutions:
- Check if anchors are hidden in the seat crease
- Some vehicles have removable plastic covers
- Use seat belt installation as an alternative
- Consider a seat with rigid LATCH connectors that are easier to align
Recommended Products
Chicco KeyFit Max ClearTex Infant Car Seat
Best infant seat for easy installationChicco's current infant flagship. SuperCinch LATCH, ReclineSure leveling, and integrated European belt routing make for one of the easiest correct installs in the category, plus an integrated anti-rebound bar.
What We Like
- Integrated anti-rebound bar (the upgrade over the KeyFit 35 line) adds ~1.5 inches of legroom and reduces forward rotation in a frontal crash
- SuperCinch push-on lower LATCH connectors make a tight installation achievable with minimal force
- Integrated European belt routing for secure baseless installation in taxis, rideshares, or grandparent cars
- 5-position no-rethread harness with an extra inch of headroom vs the KeyFit 30
- Meets FMVSS 213b frontal impact standard and FMVSS 213a side impact standard; GREENGUARD Gold and Baby Safety Alliance verified; FAA approved
What We Don't
- Heavy carrier at 10-10.6 lbs (sources disagree by 0.6 lb), tiring for parents carrying it daily
- Canopy needs two hands to extend fully
- Belt threading under the guides is tedious for baseless installation
- No load leg (a feature Cybex, Nuna, and UPPAbaby offer at higher price points)
Britax Boulevard ClickTight
Best convertible for easy installationThe easiest convertible seat to install correctly - revolutionary tensioning system eliminates guesswork.
What We Like
- ClickTight installation system ensures secure, tight fit
- Two-layer SafeCell side impact protection
- Steel-reinforced frame construction for enhanced safety
- 14-position harness adjusts easily for growing child
- Impact-absorbing base reduces crash forces
What We Don't
- More expensive than Marathon ClickTight with similar features
- Heavy at 29 pounds, making car-to-car transfers difficult
- One less layer of side impact protection than Advocate model
Graco Extend2Fit
Best value installation seatGreat value with solid installation features and extended rear-facing capacity.
What We Like
- 50-pound rear-facing limit per AAP guidelines
- 10-year lifespan
- Excellent value for features offered
- Extension panel provides extra legroom for taller babies
What We Don't
- Basic installation without InRight LATCH system
- Bulky design takes up significant vehicle space
Diono Radian 3RXT
Best for 3-across installationExcellent for families needing multiple seats, though installation requires patience.
What We Like
- Slim 17-inch width fits 3 across in most vehicles
- Steel alloy frame with aluminum reinforced sidewalls for superior safety
- Extended 12-year lifespan from rear-facing through booster
- Folds flat for travel and storage
What We Don't
- Requires top tether for forward-facing installation
- Narrow seat width may be snug for larger toddlers
- Heavy weight makes installation and repositioning challenging
Evenflo Gold SensorSafe EveryStage
Best smart installation featuresInnovative installation aids plus smart safety technology for tech-savvy parents.
What We Like
- SureSafe installation system with quick connectors for secure fit
- Built-in belt lock-offs for easier installation
- SensorSafe chest clip technology alerts for unsafe conditions
- Grows from 4-120 pounds across three modes
What We Don't
- Wide profile at 20+ inches limits 3-across seating
- SensorSafe sensor requires periodic battery replacement
- Heavier weight makes it less portable between vehicles
Sources & Research
Continue Reading
Explore more car seat safety content or browse our other categories.
Frequently Asked Questions
- Which is better for car seat installation: LATCH or seat belt?
- Both LATCH and seat belt installation are equally safe when done correctly according to FMVSS 213 standards. LATCH (Lower Anchors and Tethers for Children) was designed to make installation easier by providing dedicated attachment points in vehicles manufactured after September 2002. However, seat belt installation often provides a tighter fit, especially in older vehicles. The best method depends on your specific vehicle and car seat combination. NHTSA recommends trying both methods and using whichever achieves the tightest installation with less than 1 inch of movement at the belt path. Never use both systems simultaneously unless the car seat manufacturer explicitly permits it. The key is achieving a secure installation - neither method is inherently safer when properly executed.
- How tight should a car seat be when installed?
- According to NHTSA guidelines, a properly installed car seat should not move more than 1 inch (2.5 cm) side-to-side or front-to-back when tested at the belt path. To check, grasp the seat near where the seat belt or LATCH strap passes through and attempt to move it. If you can move it more than 1 inch in any direction, it needs to be tighter. Use your full body weight to compress the seat into the vehicle cushion while tightening. For LATCH installations, put your knee in the seat and pull up on the tightening strap. For seat belt installations, lock the belt (retract until you hear clicking, then feed back slowly) before final tightening. Remember, a tight installation is critical - loose seats can cause excessive movement in crashes, potentially injuring your child.
- When should I stop using LATCH and switch to seat belt installation?
- The LATCH system has weight limits that vary by vehicle and car seat manufacturer. Federal regulations (FMVSS 213) require you to stop using LATCH and switch to seat belt installation once the combined weight of your child plus the car seat exceeds 65 pounds. However, many vehicle manufacturers set lower limits - typically 40-48 pounds for the child alone. Check both your vehicle owner's manual and car seat manual for specific limits. The lower of the two limits applies. When in doubt, use the seat belt installation method - it has no weight limit and works for any size child within the seat's capacity. To determine your seat's weight, check the label or manual (typically 15-30 pounds). Add your child's weight - if over 65 pounds combined, use seat belt installation exclusively.
- What are the most common car seat installation mistakes?
- The most common installation errors include: 1) Loose installation - the seat moves more than 1 inch at the belt path; 2) Incorrect recline angle - newborns need 30-45 degree recline to keep airways open; 3) Wrong belt path - using rear-facing path for forward-facing installation or vice versa; 4) Not using the tether strap - forward-facing seats require top tether use to limit head excursion; 5) Twisted straps - harness or installation straps should lie flat; 6) Aftermarket products - adding unauthorized pads or inserts that weren't crash-tested with the seat; 7) Expired seats - using seats past their expiration date; 8) Wrong seat for child's size - using forward-facing before minimum requirements or booster before maturity. NHTSA estimates 59% of car seats are installed incorrectly. Have your installation checked by a certified Child Passenger Safety Technician (CPST) to avoid these common errors.
- How do I find a certified car seat technician to check my installation?
- "Certified Child Passenger Safety Technicians (CPSTs) undergo rigorous 32-hour training to help families install car seats correctly. To find one: 1) Visit cert.safekids.org and use the "Find a Tech" search tool with your ZIP code; 2) Contact your local fire department - many have certified technicians; 3) Call your local police department's community outreach unit; 4) Check with children's hospitals - they often have car seat inspection programs; 5) Visit NHTSA.gov and use their inspection station locator; 6) Contact your state highway safety office. Most inspections are free, though some locations may charge a small fee or accept donations. Inspections typically take 20-30 minutes per seat. The technician will teach you proper installation rather than just doing it for you, ensuring you can reinstall correctly after cleaning or when switching vehicles. Bring your child if possible so the technician can verify harness fit."
Written By
Kid Sitting Safe
Our team researches car seat safety standards, crash test data, and real-world usability to help parents make the safest choice.
Related Articles
Car Seat After Accident: When to Replace & Insurance Coverage
Learn when car seats must be replaced after accidents. NHTSA guidelines, insurance coverage options, and how to assess if your seat is still safe to use.

Car Seat Safety Guide: AAP Guidelines & Essential Tips for Parents
Essential car seat safety tips every parent should know. Learn AAP guidelines for rear-facing, proper installation, harness fit, and avoiding common mistakes.

CPST Certification: Finding Child Passenger Safety Technicians
Learn about Child Passenger Safety Technician certification. Find CPSTs near you, understand what they do, and get expert car seat installation help.